Matic Magister
Nov 16, 2026

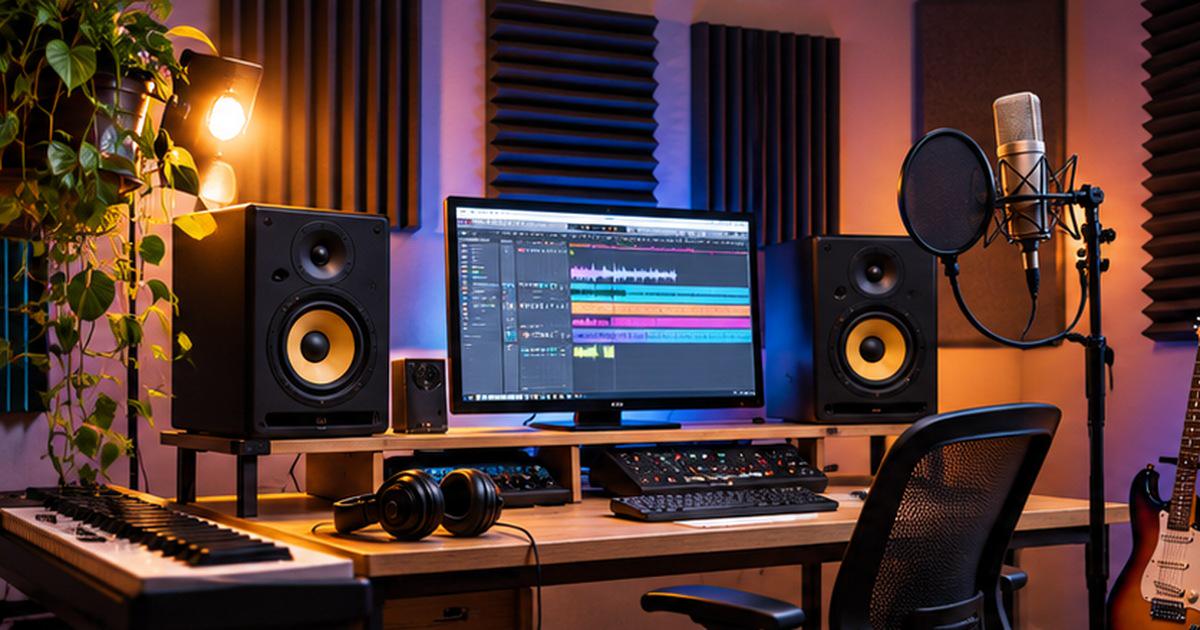

Building a home recording studio doesn't have to mean converting an entire room, buying expensive acoustic panels, or investing in professional equipment before recording your first track. With a little planning, even a spare bedroom can become a productive space for recording vocals, producing music, and mixing tracks.
The key is to spend money where it makes the biggest difference: choosing the right room, controlling unwanted reflections, positioning your equipment correctly, and upgrading gradually.
Before shopping for studio monitors or acoustic treatment, evaluate the rooms available in your home.
A quieter room with relatively consistent dimensions is often preferable to a larger space exposed to traffic, household activity, or noisy appliances. Listen for background noise at different times of day, including when heating, ventilation, and other equipment are running.
Room shape also matters. Small square rooms and spaces with similar length, width, and height dimensions can produce particularly troublesome low-frequency resonances. An irregular room is not automatically better, but understanding its proportions helps you anticipate acoustic problems.
Measure the length, width, and ceiling height. If you're unsure how to calculate the room's floor area, this practical guide explains how to measure the square footage of a room.
For example, a room measuring 10 by 12 feet provides 120 square feet of floor space. That figure helps when planning furniture placement, flooring, and renovation materials, although it does not tell you how the room will sound.
A basic home recording setup usually requires a computer, recording software, headphones, and an appropriate input device.
For recording vocals or instruments, an audio interface and microphone are typically the next priorities. Producers working primarily with software instruments may be able to begin with fewer components.
A practical purchasing order is:
1. A reliable computer and digital audio workstation.
2. Quality headphones suitable for recording and monitoring.
3. An audio interface and microphone, when the recording workflow requires them.
4. Studio monitors, once the room and budget justify them.
5. Acoustic treatment and accessories based on the room's actual problems.
A costly microphone cannot eliminate traffic noise entering through a window. Likewise, premium monitors will not automatically compensate for severe room reflections.
Start with equipment that supports your immediate workflow rather than buying everything at once.
Speaker placement affects how accurately you hear your recordings.
For a conventional two-monitor setup, a useful starting point is to arrange the speakers and listening position into an approximately equilateral triangle. Tweeters should generally be near ear height, with both speakers positioned symmetrically relative to the listening area.
In a rectangular room, placing the desk along a shorter wall and directing sound toward the longer dimension is often worth testing.
Avoid positioning the listening chair directly against the rear wall. Also experiment with the distance between monitors and nearby boundaries, following the speakers' manufacturer guidance.
These are starting points, not universal acoustic rules. Small adjustments can noticeably change bass response and stereo imaging.
One of the most common home studio mistakes is confusing sound absorption with sound isolation.
Acoustic treatment primarily controls the way sound behaves inside a room. Sound isolation aims to reduce sound transmission between spaces or from outdoors.
They are related but distinct construction problems.
Absorptive panels can reduce reflections and improve clarity at a listening position. Bass traps may help manage low-frequency problems, depending on their design and placement. Thin decorative foam, however, should not be expected to solve serious bass buildup or prevent neighbors from hearing music.
Start by identifying the room's most obvious acoustic weaknesses. Early reflection points, corners, and excessive reverberation are common areas to investigate.
Where possible, use repeatable listening tests or room measurement software rather than relying entirely on appearance.
Some home studios need more than movable acoustic panels. You may decide to add a non-load-bearing partition, finish exposed walls, or renovate a room before installing recording equipment.
These projects become easier to budget when you calculate material quantities before purchasing supplies.
For example, when finishing a partition, you need to account for its dimensions, openings, sheet sizes, and installation layout. A drywall materials calculator can help estimate the number of sheets required for that part of the project.
Remember that standard drywall installation is not, by itself, a soundproofing system. Effective sound isolation typically requires a carefully designed combination of mass, airtightness, decoupling, and appropriate construction details.
For substantial modifications, consult a qualified professional about structural requirements, ventilation, electrical work, and building regulations.
A studio should be comfortable enough to support long, focused sessions.
Computer fans, ventilation systems, and external noise can all affect recordings. Before permanently arranging the room, test where noise enters and how it changes throughout the day.
Ventilation deserves particular attention. A sealed room may reduce some noise paths while creating uncomfortable temperatures and poor air quality. An appropriate ventilation solution is more important than trying to eliminate every opening.
Plan safe access to electrical outlets, keep cables organized, and avoid overloaded circuits. Use a stable desk and ergonomic chair, with the screen positioned comfortably for long editing sessions.
Good lighting also makes a difference. Soft, adjustable lighting can reduce eye strain and make the space more pleasant without requiring expensive studio décor.
The biggest advantage of a home studio is the opportunity to improve it as your skills develop.
During the first stage, focus on recording reliably. Learn your software, establish a repeatable workflow, and understand the limitations of your room.
In the second stage, address problems you can clearly identify. These might include reflections affecting monitoring, external noise during vocal recordings, or insufficient storage for equipment.
Only after those fundamentals are working should you consider larger purchases or permanent renovations.
This approach leaves more of your budget available for the tools and improvements that actually influence your music.
A productive home recording studio isn't defined by the price of its equipment or the number of acoustic panels on the walls.
It is a space where you can work consistently, hear your recordings with reasonable accuracy, and make creative decisions without unnecessary distractions.
Start with the room, choose equipment according to your workflow, and make improvements based on specific needs. With careful planning, a modest setup can become a dependable foundation for music production.
Source of music data: Viberate.com
-
📌 Viberate - Music Intelligence is the data & AI layer behind music analytics, connecting artist discovery, audiences, playlists, tracks, Spotify, TikTok, YouTube, streaming, and radio airplay.
 Next article
 Previous article

11M+ artists, 100M+ songs, 12M+ playlists, 6K+ festivals and 100K+ labels on one platform, built for industry professionals.